
Drizzlecombe Ceremonial Complex (Photos 1)
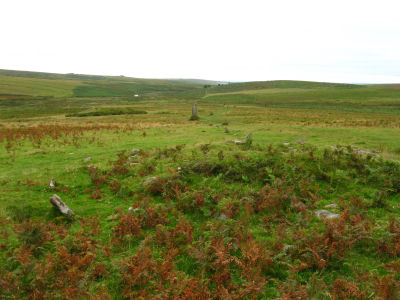
This site is featured on the Burrator 2: Yellowmead and Drizzlecombe walk (see also Burrator 3: Ringmoor, Brisworthy Circle and Legis Pound). These photos are of the Drizzlecombe Ceremonial Complex (SX59206700 Butler Vol. 3. Map 49: 19) located on the slope ascending Higher Hartor Tor. The combination of stone rows and burial sites, 22 cairns in total, is one of the most remarkable on Dartmoor. There are 3 stone rows with large cairns at the uphill end and massive terminating standing stones at the downhill end as can be seen on the plan of the site below. To the side of the site is the massive Giant's Basin Cairn which can be seen in the background of many of the photos below.
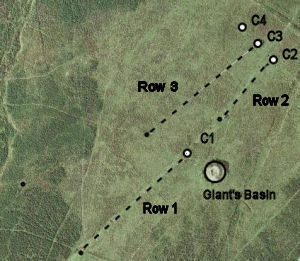
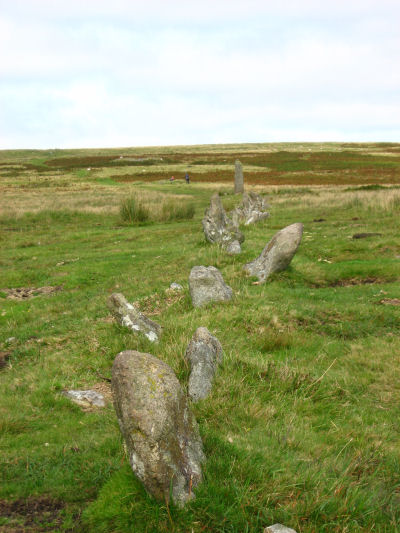
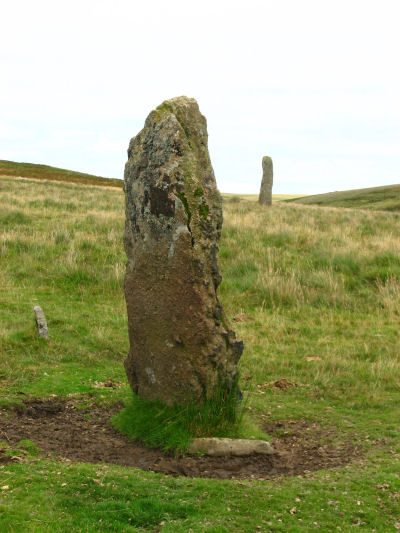
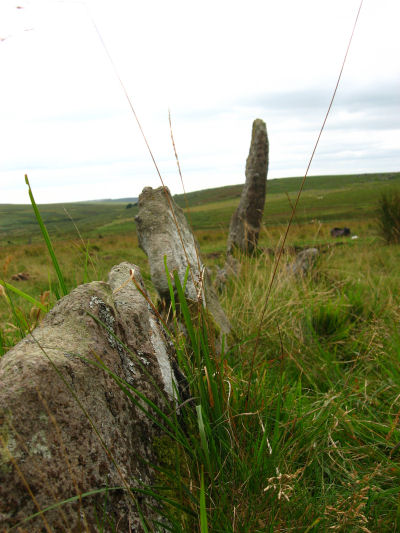
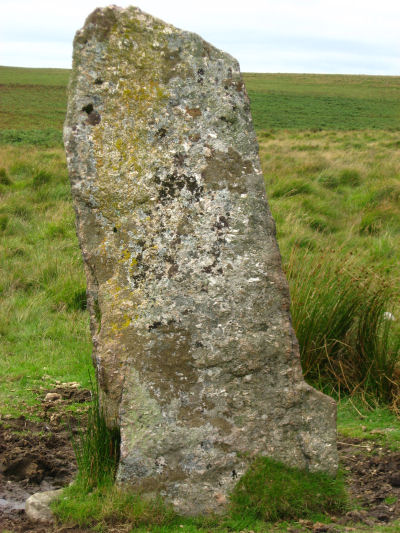
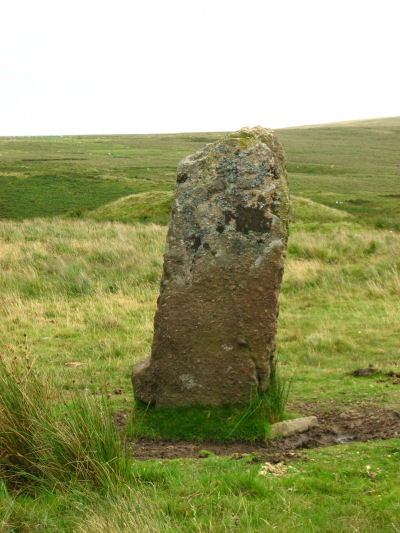
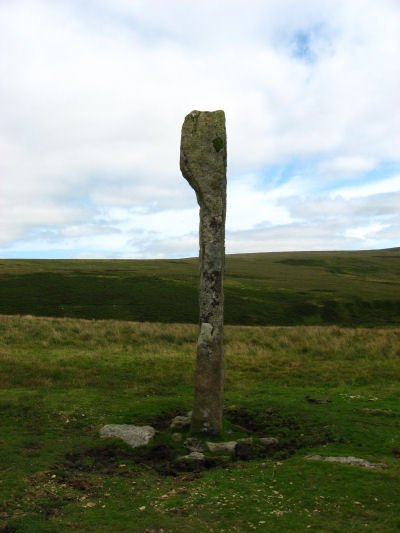
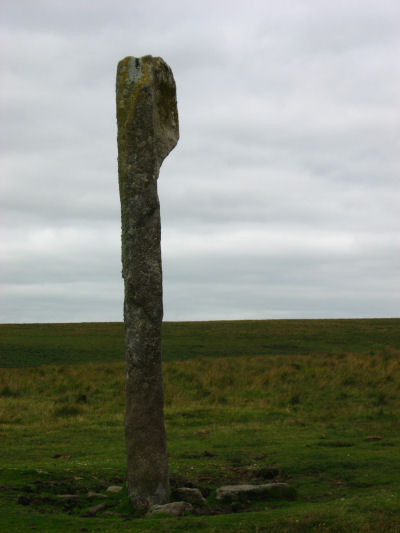
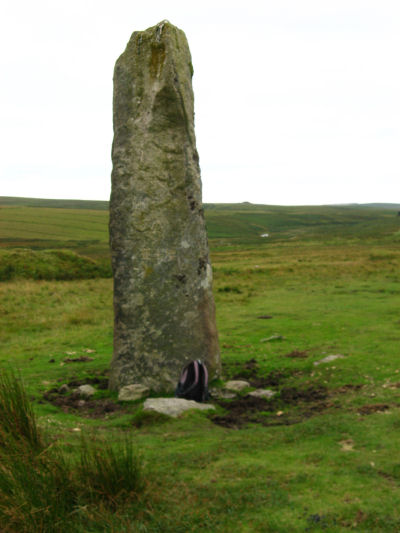
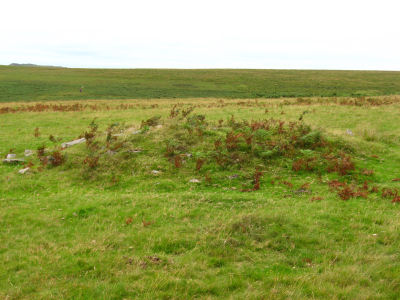
The site was first described in detail by Worth in 1889. At this time the rows were well preserved but the terminal menhirs were found lying flat. The terminal stones were re-erected in 1893 in their original sockets. Two of these pillars were aligned in orientation with their rows whilst the third was aligned at a right angle to the row. The Row 1 and Row 3 terminal stones have their broad face parallel to the row, whilst in row 2 the broad face is across the row. Stone row 1 is single for half of its 149.5m length uphill then double for 47m before becoming single again for the last 28m to the cairn (C1). This arrangement appears to be the original design. The other two stone rows are single throughout. Row 3 is exactly the same length as Row 1 but with smaller stones. The average interval between the stones is almost identical and the orientation of the row is such that it gently curves southwards downhill bringing the lower part of the row parallel to Row 1. This shift of 7 degrees in alignment of Row 3 from top to bottom to line up with Row 1 would suggest it was constructed later to match Row 1. The height of the terminating stones for Row 1 and 3 are 3m and 2.3m respectively.
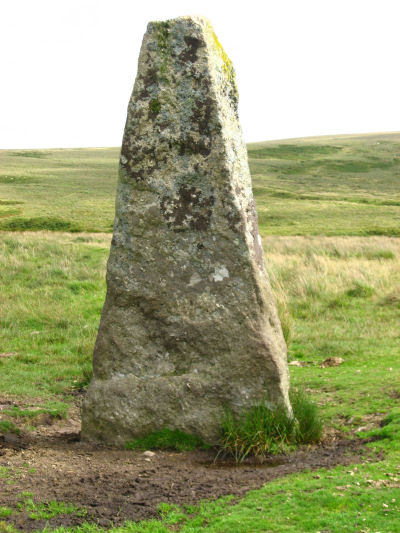
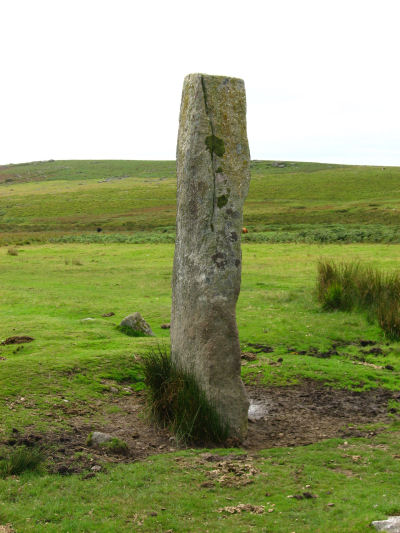
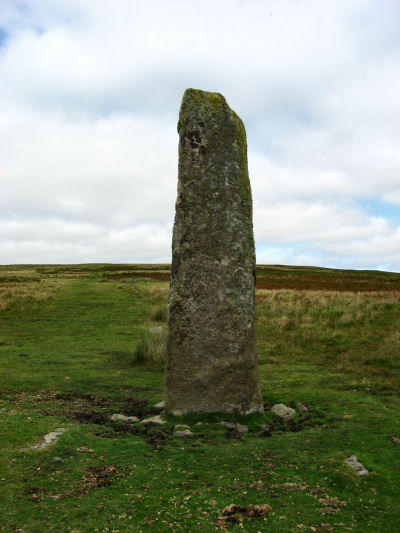
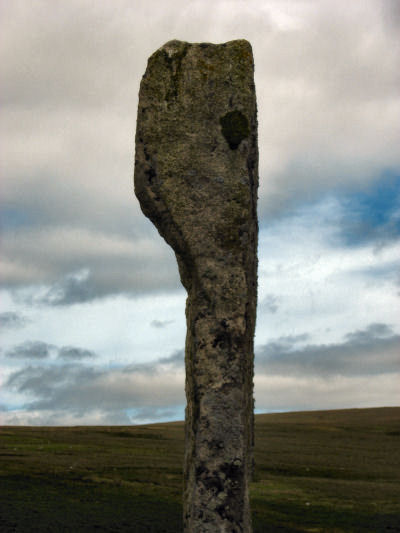
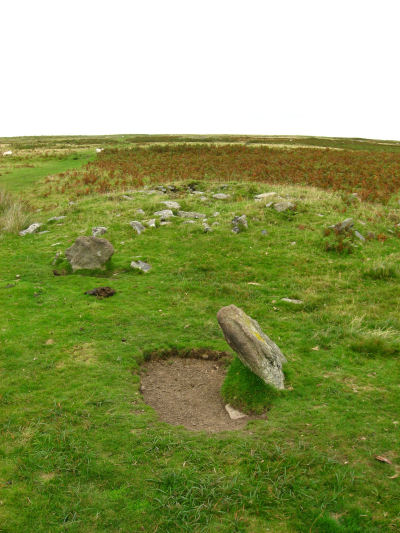
Row 2 is terminated by the tallest standing stone on Dartmoor. It is 4.2m in height with a distinctive bulging profile at the top. Interestingly this stone is photographed in Worth's Dartmoor prior to being re-erected. Worth suggests it was probably dragged here from Higher Hartor Tor about 1km away. This standing stone has 3 smaller cairns in close proximity. Row 2 is the shortest of the three rows at 83.2m but has larger slabs set further apart with the largest near the cairn.
There is a certain symmetry to this site as Worth observed. In alignment with cairn 2 and cairn 3 is cairn 4 which has no corresponding stone row although there is a standing stone mirroring the position of the one terminating Row 1. This stone however is diminutive (less than 1m high) in comparison to the massive terminal stones of rows 1 to 3. Worth speculates on whether the original plan may have been to include a row associated with cairn 4 but Butler points out that there is no evidence that the builders of these sites ever incorporated such deliberate symmetry. In 2008 Kayt Armstrong and a team from Bournemouth University carried out a geophysics survey of the site to investigate whether or not there is a stone row associated with cairn 4. The survey found no evidene of a missing stone row although it was pointed out that "absence of evidence is not evidence of absence". The report went on to point that a number of authorities have suggested that the cairns could have been a later addition to the stone rows.
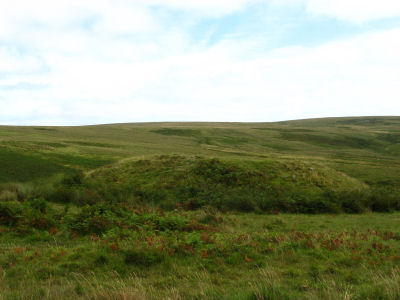
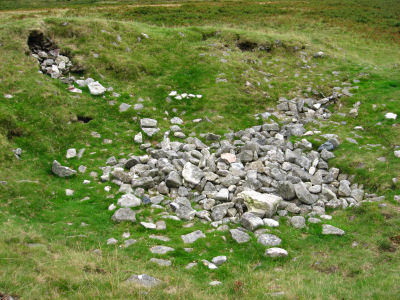
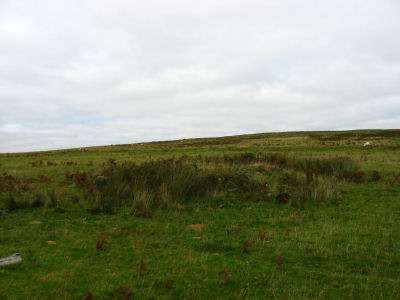
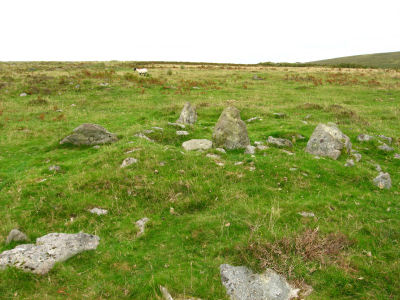
Butler also speculates whether originally there might have been a stone circle associated with this site - now long lost or sunken below the surface. The cairns are interesting in themselves. The Giants Basin is huge at 22 x 4 m with a central hollow with a bowl shape. The Giant's Basin has 3 nearby smaller cairns and the remains of a cist. Cairn C1 is about 0.8m high and is surrounded by a ring of small stones 7m across with a second inner ring being just visible through the surface of the mound and traces of a third ring around a central pit. The cairn C2 is surrounded by a ring of 11 stones. Just 12 m from cairn C2 is cairn C3 which is 8.6 m across with an outer ring of stones. Cairn C4 is separated by a similar distance as C3 and C2 and has an elaborate structure including two concentric rings of stones many partially buried. Further up the hill are cairns and cists and a pound as can be seen in the Google maps satellite images.
These photos were taken on the 16th August 2009. For more photos taken a year later, see Drizzlecombe Ceremonial Complex (Photos 2).
See also: Guide to Dartmoor Stone Rows
Bibliography & references
Armstrong, K. Archaeological geophysical prospection in peatland environments (thesis 2010) pp.242-253
Butler, J. Dartmoor Atlas of Antiquities: Vol. 3. - The South-West (Devon Books, 1994)
Worth, R.H. Worth's Dartmoor (David & Charles, 1971)
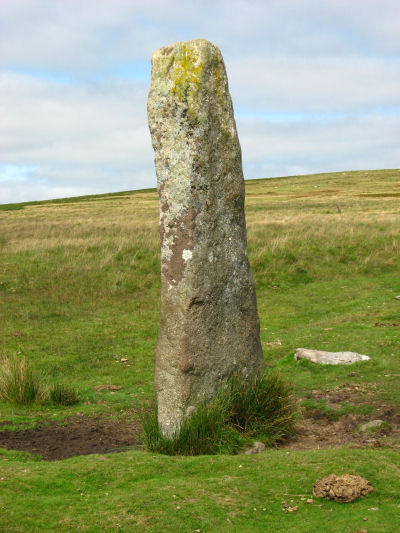
Drizzlecombe Ceremonial Complex: Row 1 & Giant's Basin
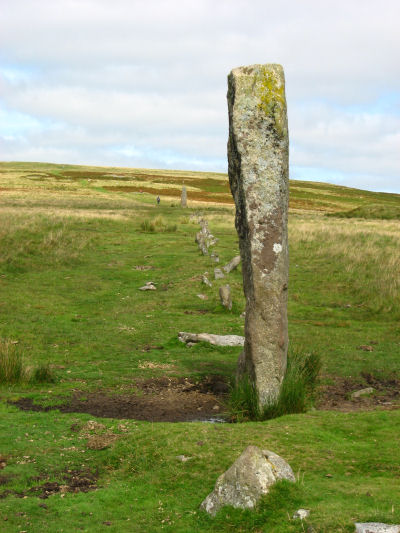

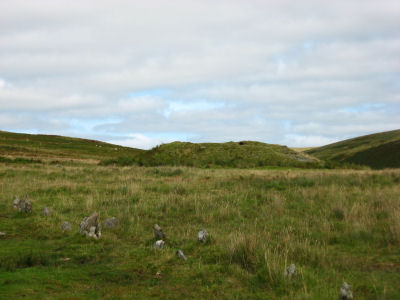
Drizzlecombe Ceremonial Complex: Row 3

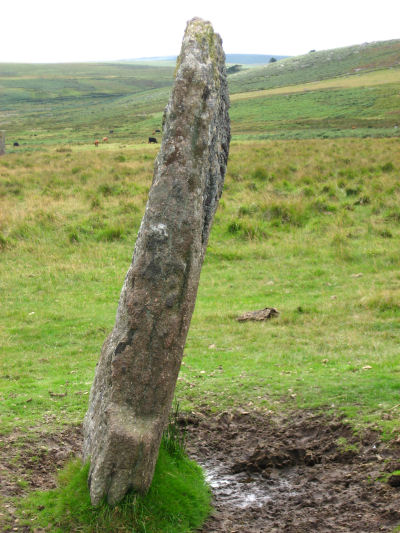
Drizzlecombe Ceremonial Complex: Row 2

Drizzlecombe Ceremonial Complex: Cairns
Page last updated 17/2/13